DIY Acrylic Key Chain with Adhesive Vinyl
share on social:
Learn how to use adhesive vinyl to make a DIY acrylic key chain.
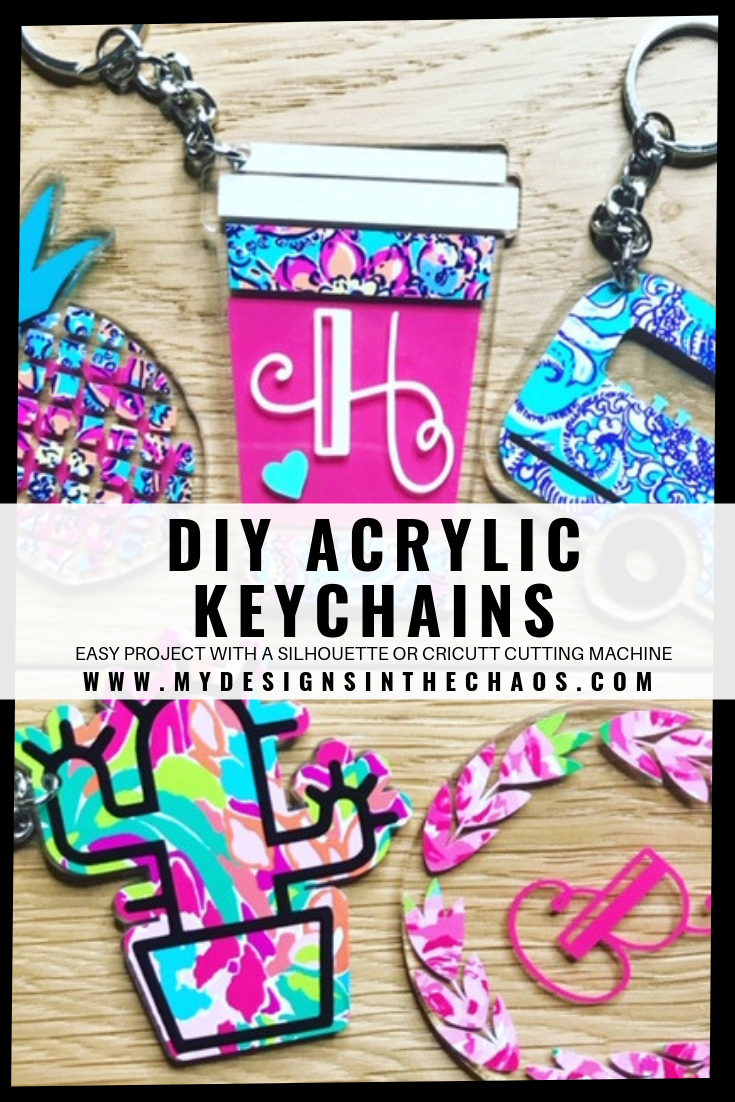
Acrylic key chains are blanks that everyone should own in their crafting stash.
Today I want to show you how to DIY an acrylic key chain with adhesive vinyl.
They are super cute, very trendy, and so easy to personalize.
These step-by-step instructions for how to make acrylic key chains are easy to follow and simple to understand.
You can have a personalized stylish key holder to show off to your friends, give as gifts, and keep for yourself in no time.
Please Note: This post contains affiliate links.
Making your own key chain with vinyl has never been easier.
Using the supplies I have listed below, and following the step-by-step tutorial, you too can have a beautiful acrylic key chain.
It’s so much fun to use vinyl designs to create everyday items.
If you are more visual or want to follow along with us, you can watch us put them together in a Facebook live!
Supplies for DIY Acrylic Key chain with Adhesive Vinyl:
- Acrylic Key chain
- These are the ones I used in my video below
- Adhesive Vinyl
- I used these Lily inspired prints in my example.
- Cutting machine
- Silhouette or Cricut
- Weeding tool
- Transfer Tape
- SVG File (this should come free with the key chain)
- please note that it is the correct proportions but might need a little re-sizing (keeping the proportions the same) to get it to match… and you can always trim off the extra with an exacto knife if needed
- Decorative Tassel (optional)
- Needle Nose Pliers
Step One:
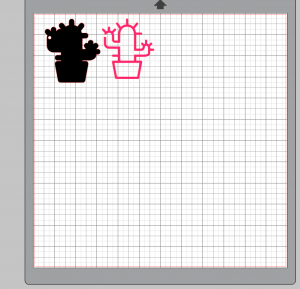
The first step to making your own key chain is to cut out the SVG file on your Silhouette or Cricut cutting machine.
Because we are using adhesive vinyl, you probably won’t need to mirror the design.
The SVG designs come free with the acrylic blank, and if for some reason yours doesn’t pop up in your order history, make sure to shoot CSDS vinyl a note, and they will send it right over.
The files are proportionately correct but might need to be slightly re-sized (with the proportions locked) depending on the size key chain you order.
Step Two:
Next, it’s time to weed the vinyl design; if you aren’t quite sure what I mean with this, head over to this post, where we decode the crafter lingo for you.
I used a Lily-inspired patterned vinyl for the acrylic blank to really help make it pop. I also used these free wreath frames for the circle design.
This is the part where you can let your creativity shine. I think it’s fun to add in names, initials, school colors, bible verses, or really whatever you want to your designs.
Here is an example of some of the prints I used:
If patterned vinyl is used, make sure you know it’s not double-sided with patterns on both sides.
If you are using solid color vinyl, then the solid color will show on both sides.
Once all of your vinyl designs are weeded out, you can continue onto the next steps of your DIY acrylic key chain.
Step Three:
Using the transfer tape, it’s now to apply the vinyl design to the acrylic key chain. Double-check that the coating is peeled off your blank first.
Also, at this point, try to minimize touching the key chain because it leaves fingerprints really easily. 🙂
This is what the blank looks like before the coating is removed.
Keeping the vinyl on the transfer tape, bring your blank to the vinyl and transfer tape instead of the other way around.
Line up the key chain with the keyhole on the vinyl design.
Press it down firmly to allow the acrylic key chain to attach firmly.
Peel off the transfer tape so that the design is left on the acrylic.
For our best tips on how to peel off the transfer tape, head over to this post here.
If there are multiple layers of your design, use registration marks to line everything up first, then apply all at one time.
Check out the tutorial for how to layer adhesive vinyl here.
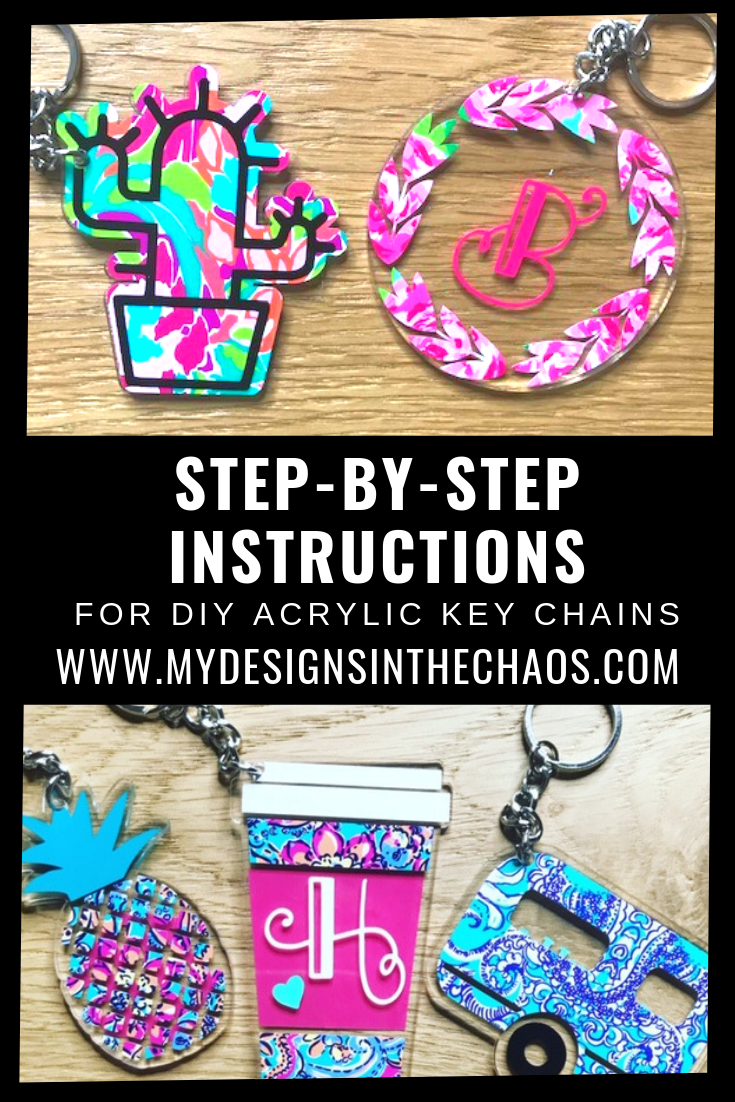
In the video below, I applied the vinyl in layers, but either way works, and it just depends on my mood of which route I go.
Step Four:
What’s really nice is the blank acrylic key chains come with the chain and hook to connect to the ring included in your purchase.
To finish off the project, connect the hook and add the key chain.
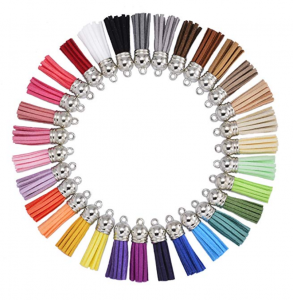
This is where you can also add in the decorative tassels.
I recommend using needle nose pliers to close and secure the hook tightly to ensure it doesn’t accidentally open up and fall off.
To Seal or Not to Seal
Several people asked about sealing the design, and here are my thoughts.
Some people do use resin and epoxy to coat and seal the acrylic blank.
If that is something you are comfortable working with, then I say go for it, but if not, your project will be just fine.
As long as you use permanent adhesive vinyl, you can trust it to stick on its own.
Without the seal, it is more susceptible to peeling and scratches.
These aren’t sealed, but I might experiment with that in the future.
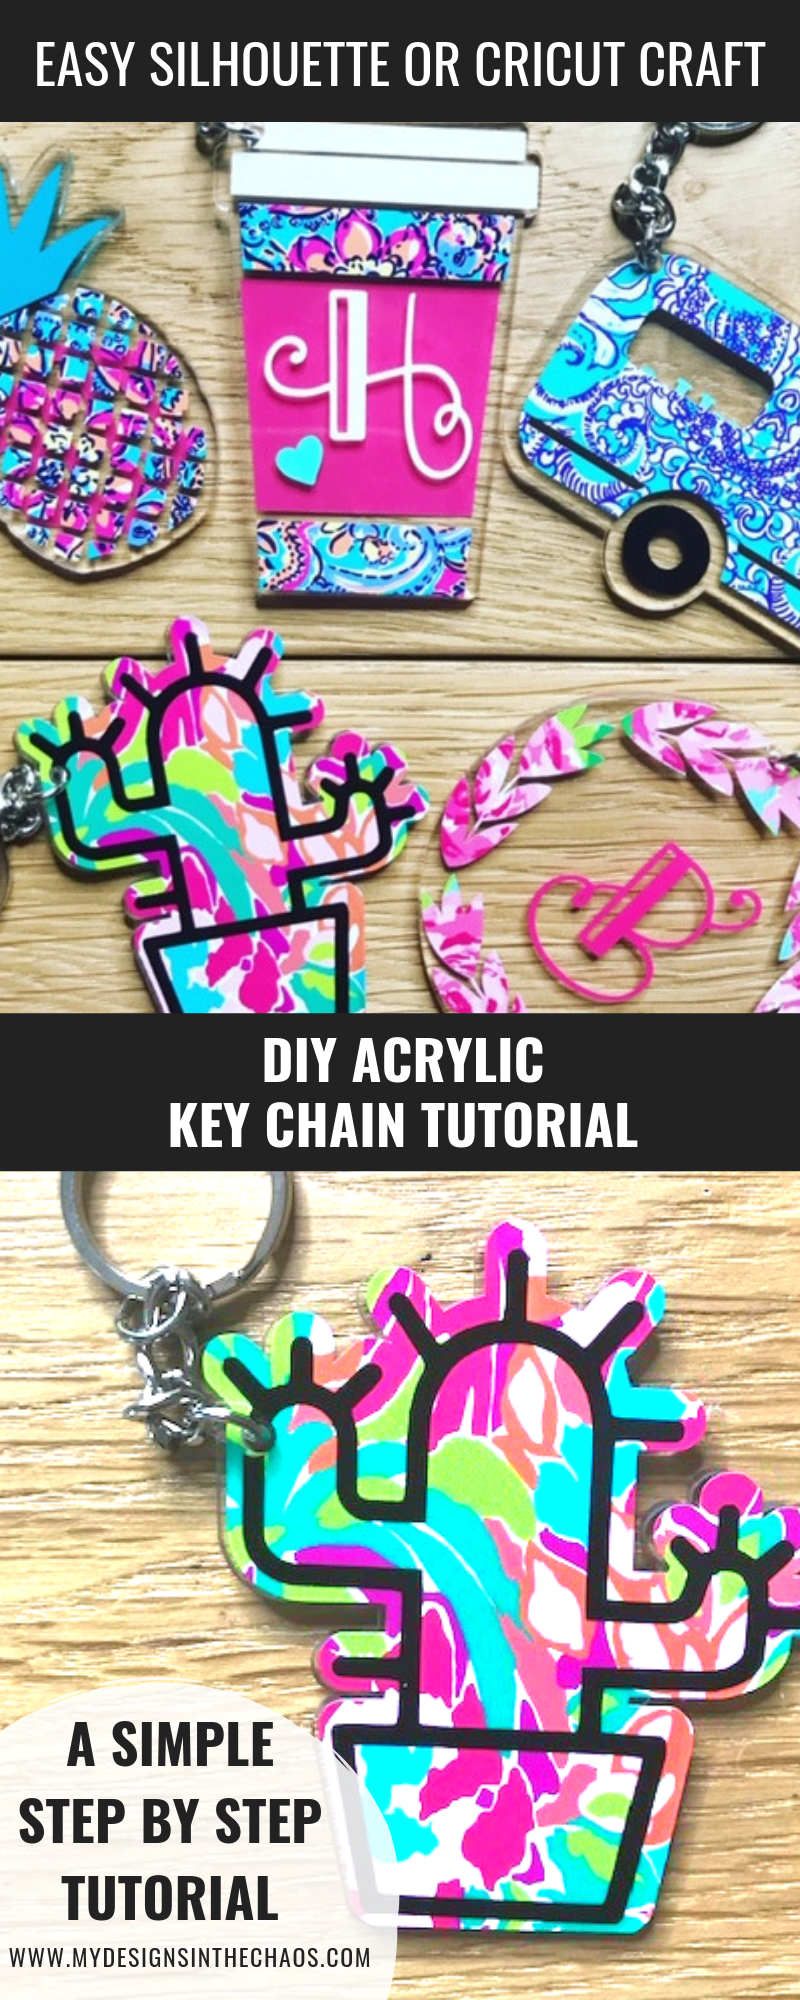
Making your own DIY acrylic key chain with adhesive vinyl is the perfect craft to do with anyone.
You can even make them as a teacher gift throughout the year.
This is an easy-to-make project to gift for birthdays, end-of-year teacher thank you gifts, or even for anyone who enjoys homemade gifts.
It’s a good idea to have a few blanks on hand for when the occasion arises.
My favorite part about the project is that it has so many variations that you can create.
Speaking of design variations, I want to see what types of key chains you make! Especially how you pair your vinyl, shapes, and monograms!
Feel free to post them over in our FB group, give us a tag on IG, or pop us a note and let us know what you are creating.
Thanks for being here, and ’til next time happy crafting, cutting, and chaos!
You May Also Like:
27 Comments
Leave a Comment

Learn to develop, and grow your crafting skills!
My mission is to develop, encourage, and grow your crafting skills, and confidence through freebies, tutorials, our club, and our signature course.
Behind the Chaos...
My name is Michelle and I am the creative director behind the chaos. I'm so are glad you are here and hope you find inspiration and confidence to create something beautiful out of the chaos in your craft room and in life.
free ebook!
Bring your creativity to life quickly and easily.
This guidebook will give you a detailed look into the creative crafting cycle called the Craft Maker Process.


Thank for showing how to do this.This is on my list to try.
love these! Can you tell me the font that is used for the H on the coffee cup?
Thanks! Sure you can grab that font here from my affiliate link: https://fontbundles.net/craftylittlenodes/129620-intially-a-hand-lettered-monogram-font/rel=LlkUnv 🙂
I have ask this question on other sites and no one will answer me. How do you avoid the adhesive look on the opposite side of acrylic. It has a film look. Please answer me. 12/6/2021
I’m not sure I know what you mean by film look. Most acrylic blanks I’ve seen come with a protector on it that you peel off, but once it’s off and you put the adhesive on it, it shouldn’t look filmy. Feel free to post over in our Facebook group or email info@mydesignsinthechaos.com with pictures if you’d like some more help on it.
I’m wondering if this was ever solved as I think I have the same question. I applied black permanent vinyl to clear acrylic, but from the reverse side it looks untidy. Even though I pressed the vinyl down a lot, from the back you can kind of see patches of adhesive all over the vinyl rather than looking smooth like the front of the vinyl. Is there a way to get the vinyl looking good from both sides of the clear acrylic?
You could always cover the back with another piece of vinyl if it doesn’t look smooth from that side.
I bought a bunch of keychains from CSDS but they didn’t come with svg file. Any suggestions?
Reach and email their customer support and they should send them right over to you 🙂
I did, but the svg on the coffee tumber is just one piece of the entire tumbler, I like yours much better! any suggestions?
I would reach out to the spot where you got the blank because that’s where I got the SVG image from. You can also always design your own! Hope that helps! 🙂
Hi, love your video tutorial. Very well done. I do have one question. How do you get your vinyl air bubble free? I have to use the wet method to get the same results.
When I press from the center out I am able to avoid the bubbles, but a heat gun and the wet method are both great options 🙂
One more question lol. Do you always put some vinyl on the back for dimension or is it just what you feel at the time
It just depends what I want the key chain to look like. 🙂
Hi! I found this tutorial really helpful — but how big, in inches, was the circle charm?
It was about 3 inches I think 🙂
I think this is one of the best blog for me because this is really helpful for me. Thanks for sharing this valuable information for free.
Is your printed vinyl double sided? the video looks like you put it on the back
No the printed vinyl is not double sided.
Since the printed vinyl is not double sided do you just let the plain backside show on the back of the acrylic blank? Nobody ever shows the back and I am not sure!
Yup! Or you can do printed on the back side too 🙂 So that both angles have the print.
The keychains are no longer available…
Feel free to check out the keychains here at this updated link. https://csdsvinyl.com/catalogsearch/result/?q=acrylic+keychain
What do you do if if the glue from the transfer tape transfers to the vinyl image? How do you remove the glue from on top of the acrylic circle and vinyl? I’ve tried alcohol, if that works do you have to do soak it with the paper towel?
Thanks for your help
If there is a residue I would first begin to use a different transfer tape and second maybe try something like goo gone to remove it. Good luck and hope that helps!
I LOVE these! I am currently trying to do the cactus one, but found that the black part isn’t showing up on the cvs file. Is this something that you had to make or am I doing this wrong? If you did make it, how did you make the black outline fit so perfectly? Thanks for your help!