How to Make a Bow out of Wrapping Paper
share on social:
LEARN HOW TO MAKE A BOW OUT OF WRAPPING PAPER: A STEP-BY-STEP GUIDE TO THE EASIEST WAY TO MAKE BEAUTIFUL AND INEXPENSIVE PAPER BOWS
I have never been an expert bow maker. In fact, one might call me the opposite… more like an unskilled experimental, tie and hope it stays bow maker. But after this week… that has all changed! I learned from a friend how to make a bow out of wrapping paper, and it was so easy I just couldn’t resist sharing it with y’all!
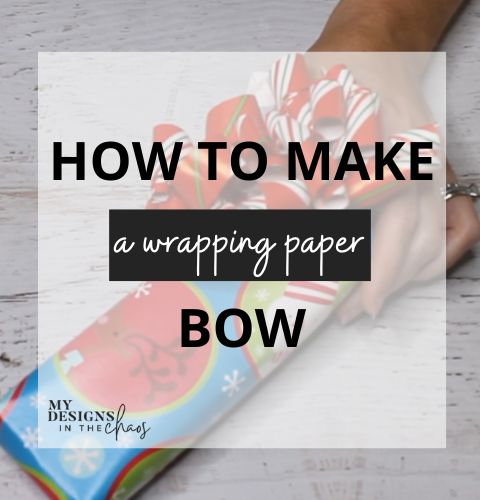
This technique is great to use up those wrapping paper scraps that never seem to fit anything, but you hate to throw away in the trash. Gone are the last-minute trips to the store for a bag of bows that don’t really stick anyway.
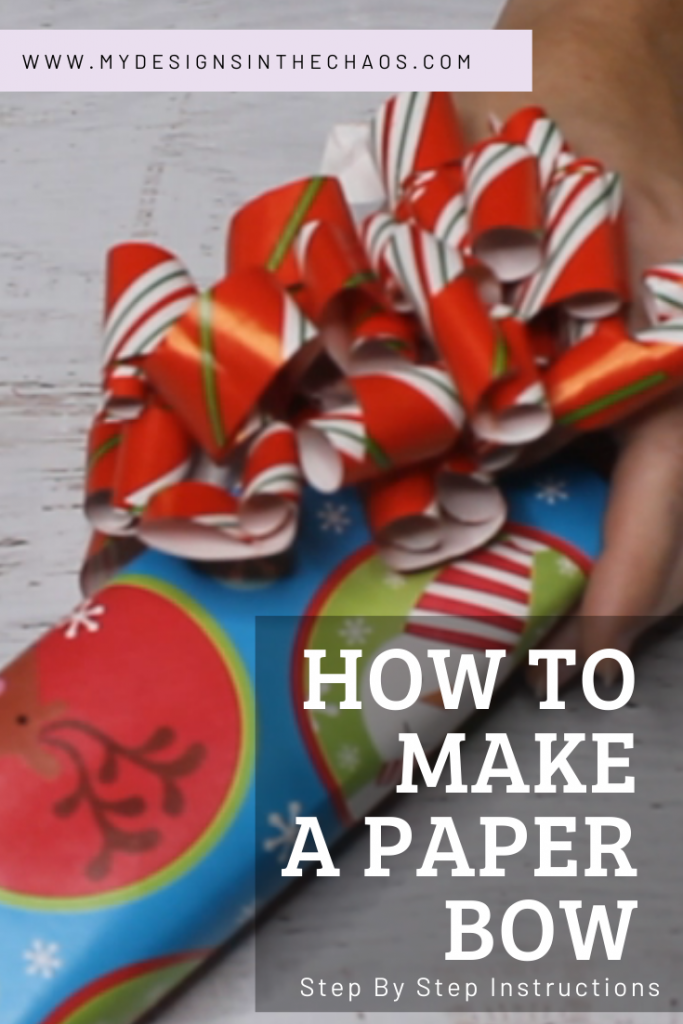
Find out exactly how to make a bow out of wrapping paper here in this tutorial video, or feel free to scroll on down if you would like more detailed step-by-step instructions.
PLEASE NOTE THAT THIS POST CONTAINS AFFILIATE LINKS WHICH MEANS AT NO CHARGE TO YOU WE EARN A SMALL COMMISSION IF YOU PURCHASE THROUGH OUR LINK.
OK, now it’s time to dive in on how to make a bow out of wrapping paper. So easy you are going to wonder why you never did this before!
Supplies for the Wrapping Paper Bow:
- Wrapping Paper
- Scissors
- Tape
That’s it! Making these bows really is that simple!
The first thing you will want to do to make your wrapping paper bow is to choose your wrapping paper. I know, I know this can be the hardest part so the trick is to start with scraps you already have.
Then take a sheet of wrapping paper and fold it in half. The direction that you fold it will determine how long the curls on your ribbon are.
Once the paper has been folded in half, it is now time for the fringe. To make the fringe you basically just cut from the open side of the paper up to the fold.
DO NOT CUT THE FOLD ITSELF!
This is what actually holds to bow together. If you end up cutting it in half you will now have two bows.
Now it’s time to curl the fringe.
Just as you would take the edge of the scissors and curl ribbon… paper works the exact same way. I know… I was mind blown when I realized this too! So cool, right?! Also, if you are like me and accidentally pull a strip or two off as you go, no worries.
The bow will still look amazing in the end. Keep going because it doesn’t have to be perfect for it to turn out great. That’s one of the things I love about this technique. Each paper bow you make is unique.
Once both sides have been curled, it’s time to pull it together. Starting from one side of the paper, create an accordion and fold back and forth until it is in one nice little pile in your fingers.
Again you can be messy with this. Because of the style of this paper bow, there is no exact measurement needed. Totally my kind of craft!
Holding the accordion fold that you just made in the middle, place a piece of tape to hold it down to the present. These would also look adorable on the sides of a brown paper bag to add some color.
Also if you aren’t quite ready to use the bow yet and are on a Netflix binge-making several at a time, just pop a staple in the middle to save for later.
Once the bow is taped down, give it a little shake, a fluff, and viola! Now you have a beautiful handmade, affordable paper bow made out of wrapping paper scraps.
In the example I showed above, the wrapping paper isn’t even two-sided! You can’t even tell! Use your imagination and creativity to have some fun and make these wrapping paper bows your own.
Thanks for hanging out with me today, and feel free to head over and check out some other popular posts on our blog.
The Best Crafting Blanks!
Are you wanting to practice your wrapping paper bow making skills? Check out these awesome craft blanks and give a homemade gift to go along with your home made bows!
Free SVG Files for Gift Giving
Check out some of our most popular free SVG posts that are perfect for creating homemade gifts. Click on each image to take you directly to the free svg file.
These free funny Christmas SVG files make perfect gifts for your friends and family who might have a little bah hum bug spirit about the holidays.
Continuing with the Christmas these, check out these free Christmas SVG files for even more gift giving options.
Check out more popular posts from our blog.
More Projects…
If what you are really looking for are more project tutorials then I got you! Again, just click on the image to take you right to the project tutorial.
This DIY key fob tutorial will help you make a gift that is perfect for almost any occasion. Whether it’s for a new car, new home, or a new teacher this handmade gift will surely put a smile on the receivers face.
The next two project tutorials are for Christmas but definitely could be switched up to make excellent birthday, Mother’s day, or Father’s Day treats. Click each image to go straight to the project.
For eve more project tutorials check out Club Chaos.
Inside of Club Chaos we release brand new SVG files and project tutorials every single month. If you love the designs here on our blog I am confident you will adore the ones inside the Club!
In addition to monthly designs and tutorials, you also gain access to fonts, community, and a sisterhood of crafters. Learn more about Club Chaos here.
Until next time, happy crafting, cutting, and chaos!
If you loved this tutorial please share it with your Pinterest friends by pinning this image (or any of the images on this post) to your Pinterest boards.
Learn to develop, and grow your crafting skills!
My mission is to develop, encourage, and grow your crafting skills, and confidence through freebies, tutorials, our club, and our signature course.
Behind the Chaos...
My name is Michelle and I am the creative director behind the chaos. I'm so are glad you are here and hope you find inspiration and confidence to create something beautiful out of the chaos in your craft room and in life.
free ebook!
Bring your creativity to life quickly and easily.
This guidebook will give you a detailed look into the creative crafting cycle called the Craft Maker Process.