Easy Layered Card to Make the Christmas Season More Cheerful
share on social:
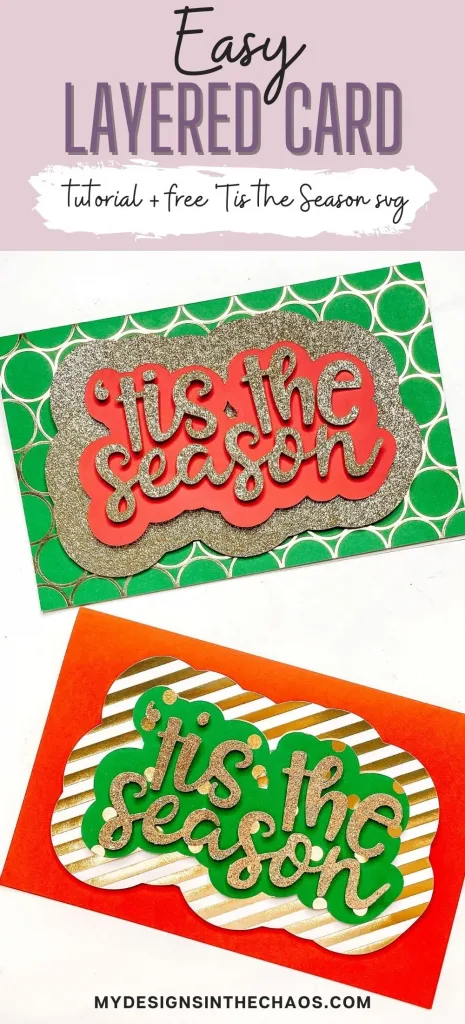
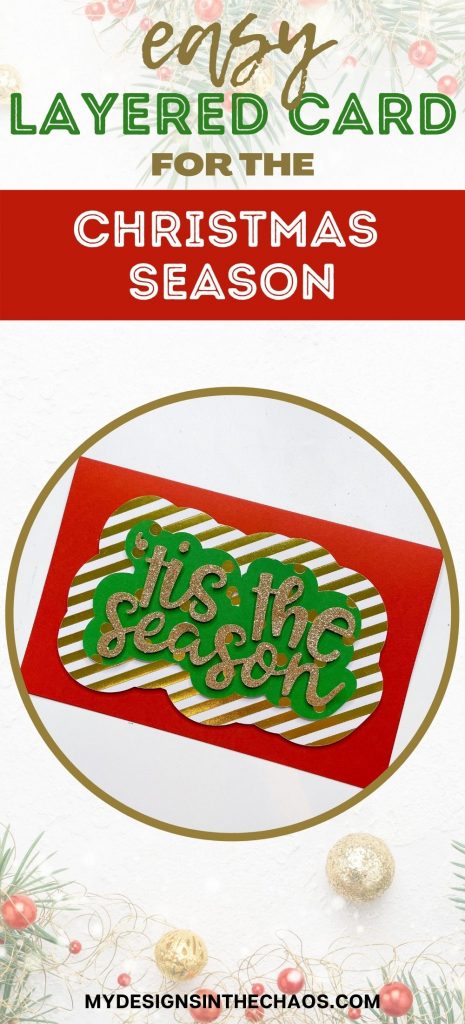
Today we’re making an easy layered card with our free ‘Tis the Season svg design.
We went live every day for a week with Christmas in July projects and we did it using the same design every day.
Because crafting is not about more.
It’s about implementing what we have and it’s about having a community where we feel safe to ask our questions, show off what we’re doing, and be able to laugh about the things we goof up on.
We all do that sometimes!
So we’re taking the same file and showing five ways that you can use that same design and really make it pop.
You can catch a replay of the video to follow along with our project and also learn more about our crafting community.
Use what you have!
It’s not about how many thousands of designs can we download and how many things we can go collect.
Do you have a digital graveyard on your computer filled with things that you have downloaded or collected but haven’t gotten around to using yet?
We want to help you take the things you have and be intentional with them and create with them.
And we also want to maintain a community that can hold you accountable to it, all while having fun with all the things.
So this week is all about going through that crafting process every day.
It’s a Club, it’s Chaos, it’s Club Chaos.
If all of this sounds good to you, we encourage you to think about joining our Club Chaos.
All of the things that we just mentioned are what our Club Chaos is all about.
Sure, there are designs galore, with monthly releases of designs and fonts.
But there are also interviews with guest designers, project tutorials, and a members’ showcase.
We have monthly challenges and an awesome community of fellow crafters where you can get advice and suggestions and share info.
The doors to the Club only open twice a year, so if you missed it, don’t worry.
Another chance will come your way and in the meantime, you can check out more information here.
More of ’Tis the Season
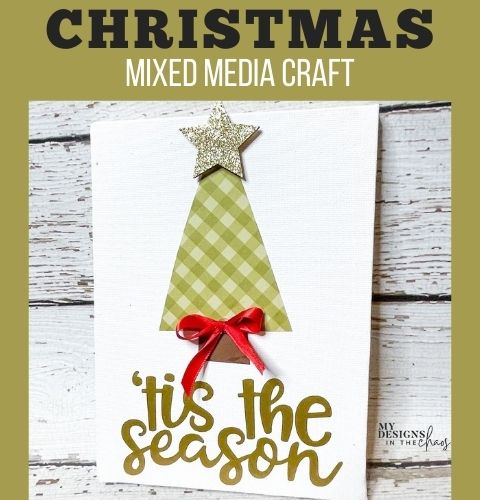
The first project we did with this Christmas tree and ’Tis the Season design was a cute little Christmas mixed media canvas with adhesive vinyl and card stock.
You can always watch a replay of the video if you missed that project.
Today we’re going to use that same file and bring it to life in a totally new way by making a layered card for Christmas and of course, we have a video for it too!
Supplies and tools we’ll use for our ’Tis the Season layered card for Christmas:
- Card stock (solid colors like red, gold and green, patterned, whatever you like)
- ’Tis the Season svg file
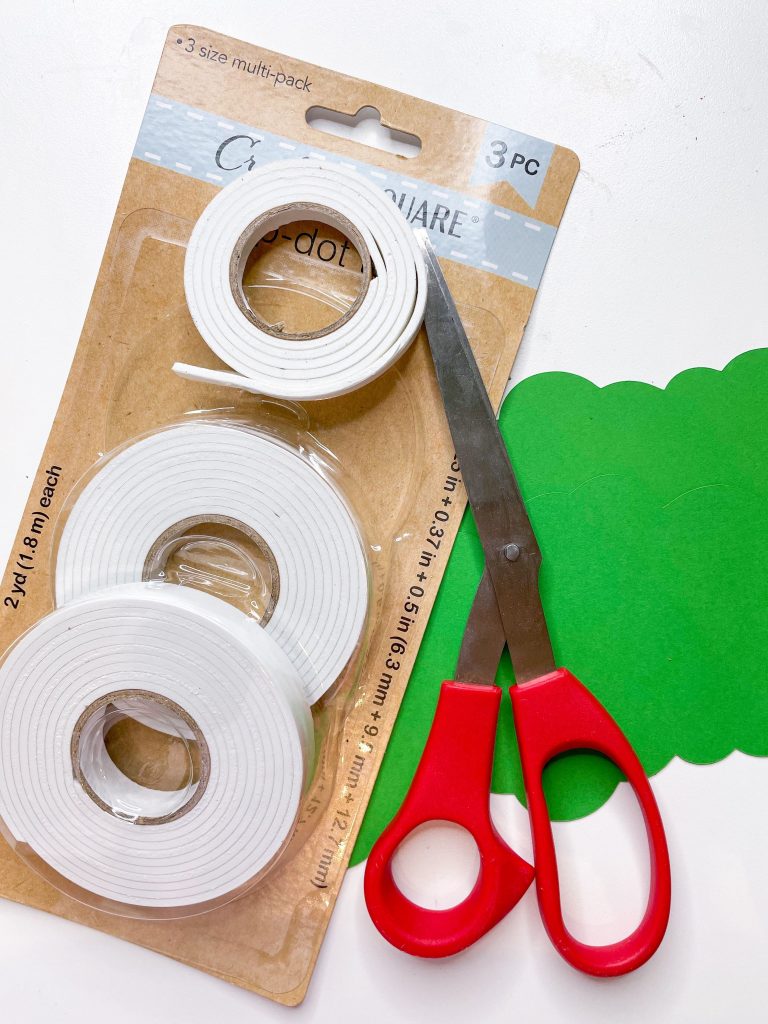
- pop dot tape (or some other material to give your card a 3-D look)
- Tweezers (optional)
- Scissors for cutting the pop dot tape (they will get sticky from the tape, so you might want to use a different pair of scissors than your regular ones)
Step One
Cut out your design and weed out the parts you don’t want. (I used gold for the words for my card).
For my project, I took the original design and I made an offset of ’Tis the Season twice to make these layers.
I encourage you to do something similar. Don’t be scared to do that to designs and don’t be scared to make stuff your own and to make it ‘you.
That’s one of the things I teach in our 123-SVG class too.
Step Two
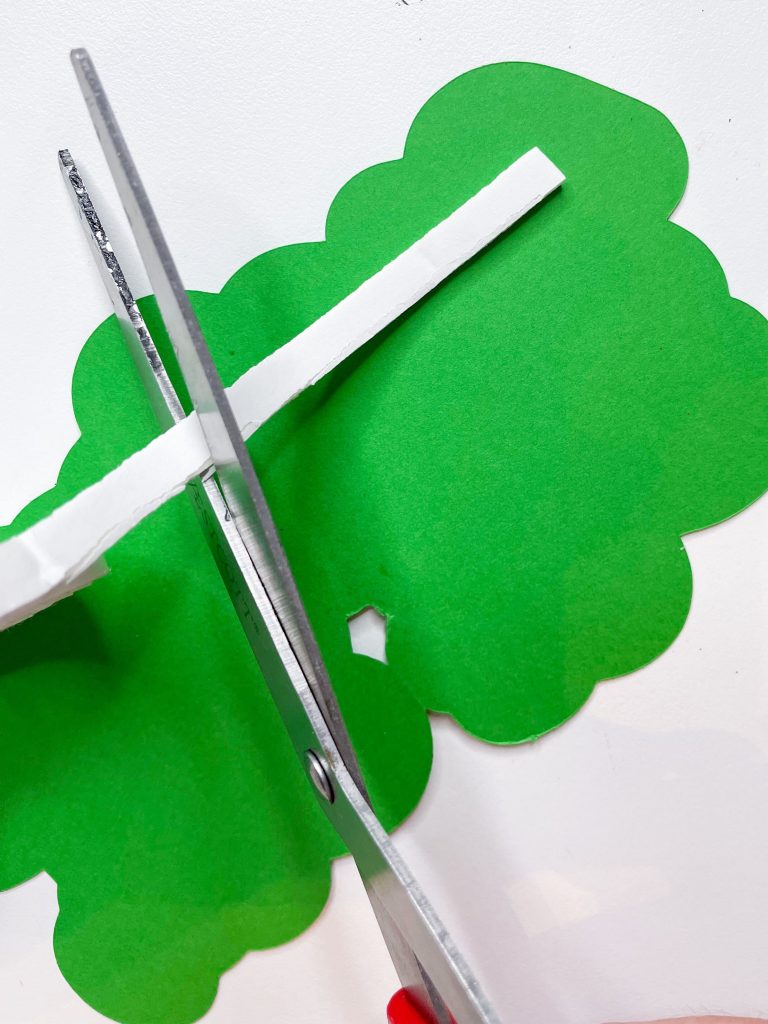
Cut the pop dot tape into small pieces and attach to the back of your words in various areas.
This will help you keep it elevated off the layer it will be attached to. Make sure you put some in the middle of your words too.
Trim the dots enough so you won’t see any white around the letters in your finished project. (If you don’t want a 3-D look, you could use adhesive vinyl instead of card stock.)
Peel off the backing of the dots to expose the sticky part.
If your design had a lot of individual letters, this could take a while, but this file is pretty well connected.
Step Three
Line it up to the layer you want the words to sit on. If you need to, you could print out a picture of what the final design looks like.
Or you can keep it nearby on your screen so you can refer to it.
Step Four
Use some longer pieces of the pop dot tape on the more solid background layer.
Peel off the backing for those pieces and line up the design on the larger layer.
Place large pieces of the pop dot tape on the back of your largest layer. Then peel the backing off and attach it to the card.
Make sure your card is facing the right way before you attach the saying.
You could even embellish your DIY Christmas card a little and add some ribbon or a bow.
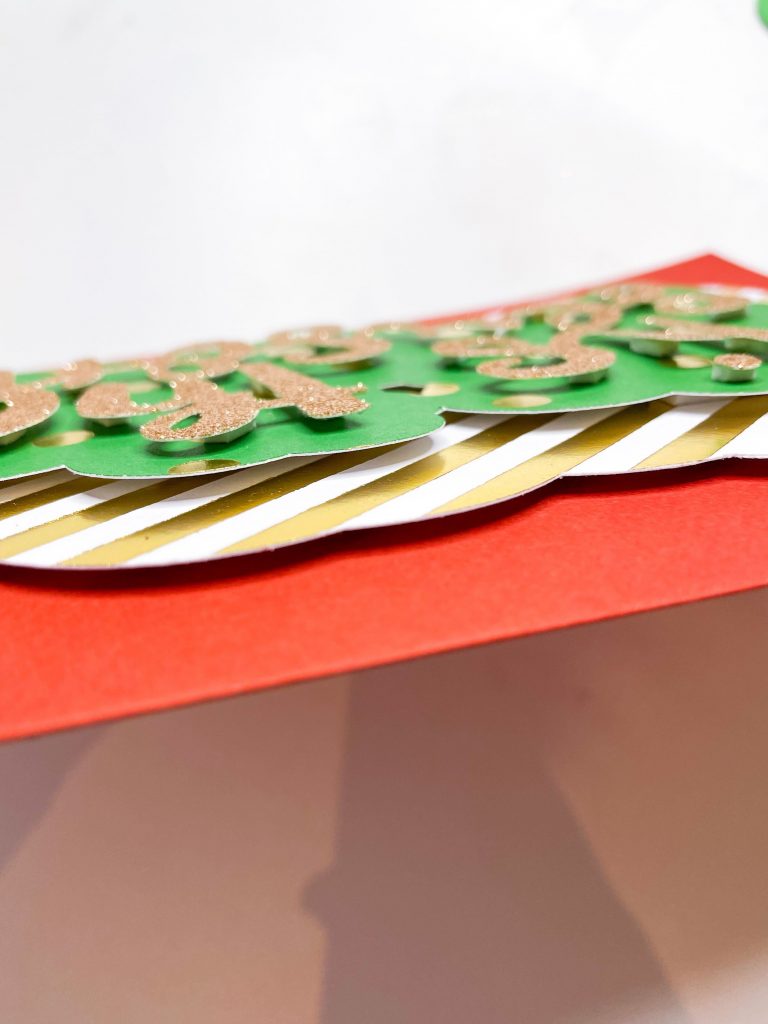
That’s all it takes to make this beautiful and elegant holiday card.
Just some cardstock, our svg file, and some pop dot tape can become a beautiful Christmas card that someone on your list will treasure.
When you make this layered card project we hope you’ll tag us because we would love to see it!
You could even make this card for other seasons and change the color scheme to fit.
If you love these types of projects, and you love being inspired and you love creating, then Club Chaos is the place for you!
Head on over the Day 1, Fun & Easy Christmas Mixed Media Craft , to download the free ‘Tis the Season svg.
You May Also Like:
If you love this layered card project, pin it for later!

Learn to develop, and grow your crafting skills!
My mission is to develop, encourage, and grow your crafting skills, and confidence through freebies, tutorials, our club, and our signature course.
Behind the Chaos...
My name is Michelle and I am the creative director behind the chaos. I'm so are glad you are here and hope you find inspiration and confidence to create something beautiful out of the chaos in your craft room and in life.
free ebook!
Bring your creativity to life quickly and easily.
This guidebook will give you a detailed look into the creative crafting cycle called the Craft Maker Process.

