Make the Holidays Bright with ‘Tis the Season Decor
share on social:
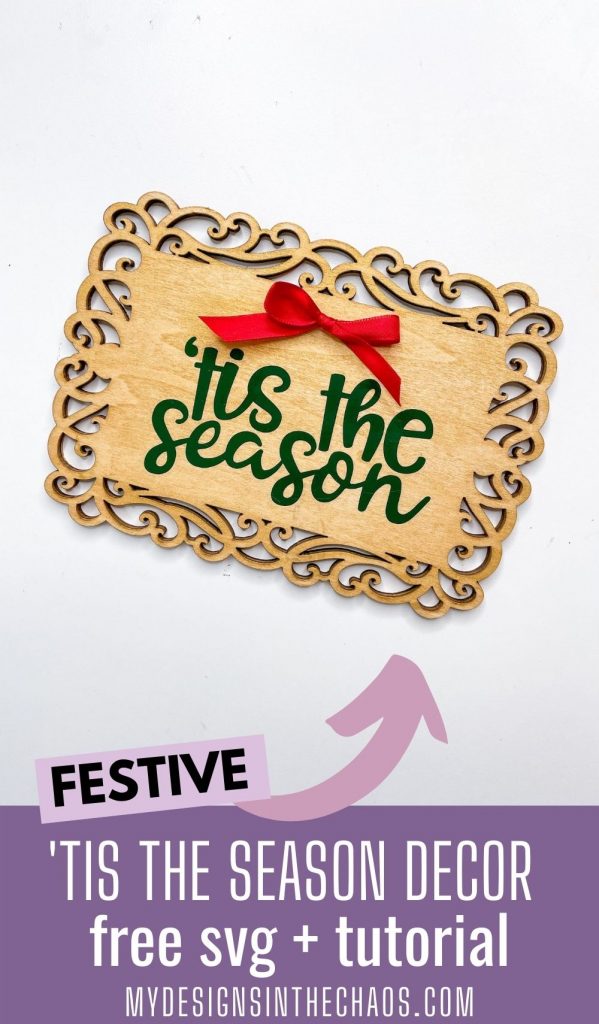
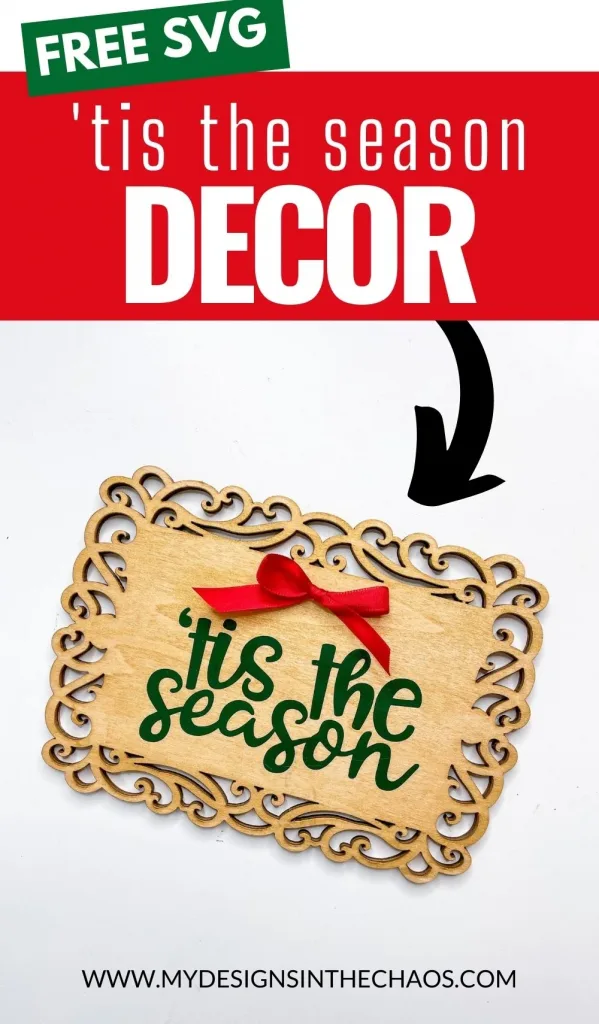
‘Tis the Season decor will help make things merry and bright this holiday season! This is our fifth and final project with our “Tis the Season design.
Five Days of ’Tis the Season
If you’ve been crafting along with us the last four days, you know that we’ve been using the same design in different projects.
No need to worry that you missed something if you weren’t with us all week!
You can still watch those project videos and do all the festive things.
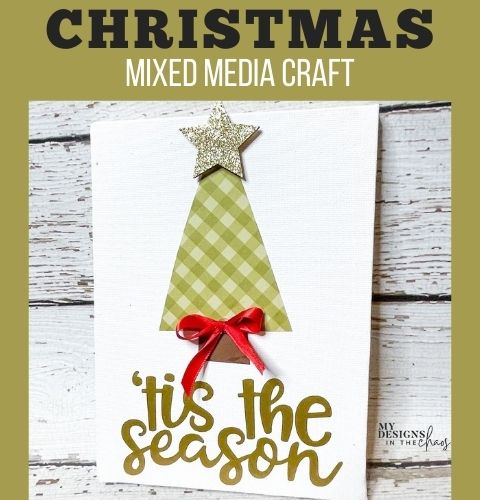
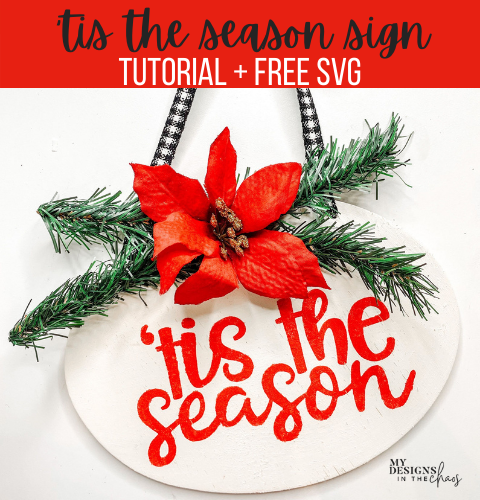
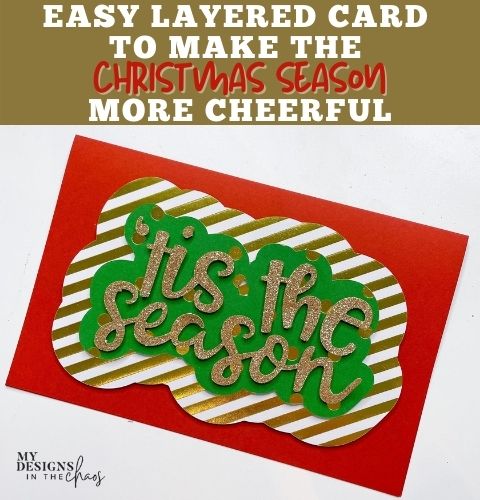
We made a cute mixed media Christmas canvas, a beautiful DIY holiday card, a ’Tis the Season wood sign, and a cute Christmas shirt.
And now let’s find out how to make another quick and easy ‘Tis the Season decor craft!
Catch the FB Live Replay Here:
Supplies we’ll use for our ‘Tis the Season decor project:
- ’Tis the Season free svg file
- Adhesive vinyl (dark green or other festive holiday color)
- Plaque/wood sign with a decorative edge
- Metallic gold paint (or other color for painting the base)
- Foam brush
- Weeding tool
- Transfer tape(I used paper transfer tape)
- Scraper
- Ribbon in a color that coordinates with your vinyl
- Hot glue gun and glue
Step one
Paint the plaque, even the decorative edge. Using metallic gold gives it a nice, shiny background.
Don’t paint too thick a layer, though, so the wood grain can still show through.
You could also use a white or dark green and use white lettering.
There are lots of options, so make it fit into your own ‘Tis the Season decor.
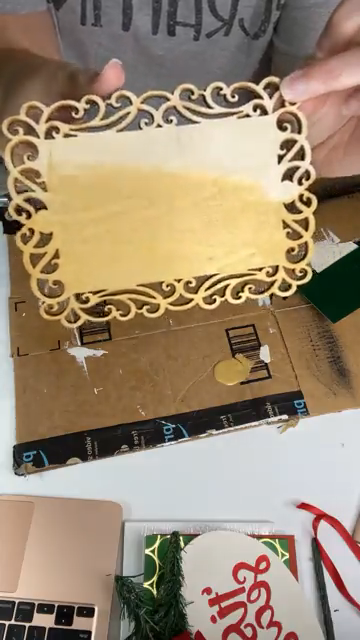
Paint the back too, in case it will be seen.
Make it a double-sided sign then, too, and use the other side for another holiday.
It could be a Thanksgiving/holiday sign! We’ve got plenty of Thanksgiving and autumn svgs if you want to finish your project that way.
This would be really cute to personalize and use on a wreath.
It would be so cute to dry brush it too.
You would use another color and use a really light amount to streak over the base color.
That would add some rustic charm and look great with farmhouse decor if that’s your style.
You could also add a hanger to the back to make it wall art.
This sign would make a great hostess gift too.
You do you applies to crafting too!
Remember that there is no wrong way to craft.
When you see a project idea or watch a video, you don’t have to make your project look exactly like what you see.
Have fun with it and make it your own!
You could use a stencil here and paint the design or heat transfer vinyl.
There is no wrong way to do this stuff.
The right way is the way you like and doing what works best for you.
Step two
Cut your design, and remember that you don’t have to mirror your design.
We want the design to cut just how it will look on the plaque. Weed out your design.
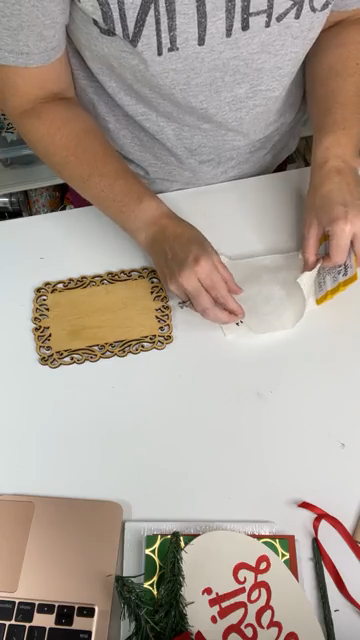
Tear off a piece of transfer tape and place it over the design.
Using transfer tape helps move the adhesive vinyl while keeping the design intact.
Use your scraper to make sure the whole design will come up with the tape.
Crafting communities are the best
We have used the same design every day this week because it’s not about always getting more. It’s about implementing and being inspired.
It’s about creating.
Inside our Club Chaos, we absolutely have thousands of design files and tons of project ideas.
But the key is that it’s not about more.
It’s about being creative and being inspired by others in the group, and it’s about community and accountability.
We inspire each other and also help each other follow through with our crafting ideas.
That’s what it’s all about.
Step three
Make sure your plaque is totally dry before you add the adhesive vinyl.
Let it dry for a few hours or even up to 24 hours.
If you’re having problems with getting adhesive vinyl to stick, it might be that the base paint is not totally dry.
Also, remember that if you’re using clear transfer tape, it is usually much stickier.
Step four
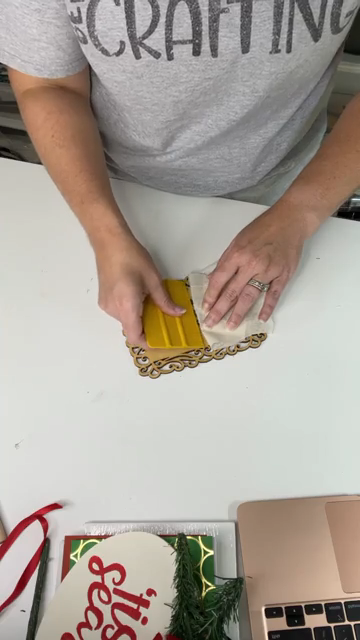
Place the ‘Tis the Season design where you want it on the plaque.
You can measure, but I totally eyeball it and go for it. Leave some space at the top in case you want to add a bow or other decoration.
Peel the transfer tape back slowly, flat against the plaque, not straight up.
You can use your fingers or scraper to hold the vinyl down as you peel off the tape.
Slow and steady wins the race here.
Once the tape is off, you can use your fingers to press down the vinyl.
Step five
Use some ribbon to make a bow and use hot glue to attach it to the plaque.
This is a fun way to make a quick and easy decoration for the holidays using the same design we have used all week.
This cute ‘Tis the Season decor craft was a perfect way to wrap up our week.
We’d love to see your finished project.
And if you used the back for another Christmas design or another holiday, share pictures of what you made and inspire us with your creations!
Head over to our first day of ‘Tis the Season decor to download the free svg.
Be sure to check out our other ‘Tis the Season projects!
Did you like this tutorial? Pin it for later!
2 Comments
Leave a Comment

Learn to develop, and grow your crafting skills!
My mission is to develop, encourage, and grow your crafting skills, and confidence through freebies, tutorials, our club, and our signature course.

Behind the Chaos...
My name is Michelle and I am the creative director behind the chaos. I'm so are glad you are here and hope you find inspiration and confidence to create something beautiful out of the chaos in your craft room and in life.
free ebook!
Bring your creativity to life quickly and easily.
This guidebook will give you a detailed look into the creative crafting cycle called the Craft Maker Process.



I would love some free svg’s.
So glad you found us! We have a bunch on our site. 🙂